— Digital Landscape Representation

Archive
February, 2014 Monthly archive

LAR 5304G Digital Landscape Representation II: Static, Dynamic
Assignment 03: Storyboard

Description
Produce a storyboard that uses sequential movement through the space of the model that you have constructed for your axonometric drawing in order to produce a narrative reading of some aspect of the study landscape.

Workflow
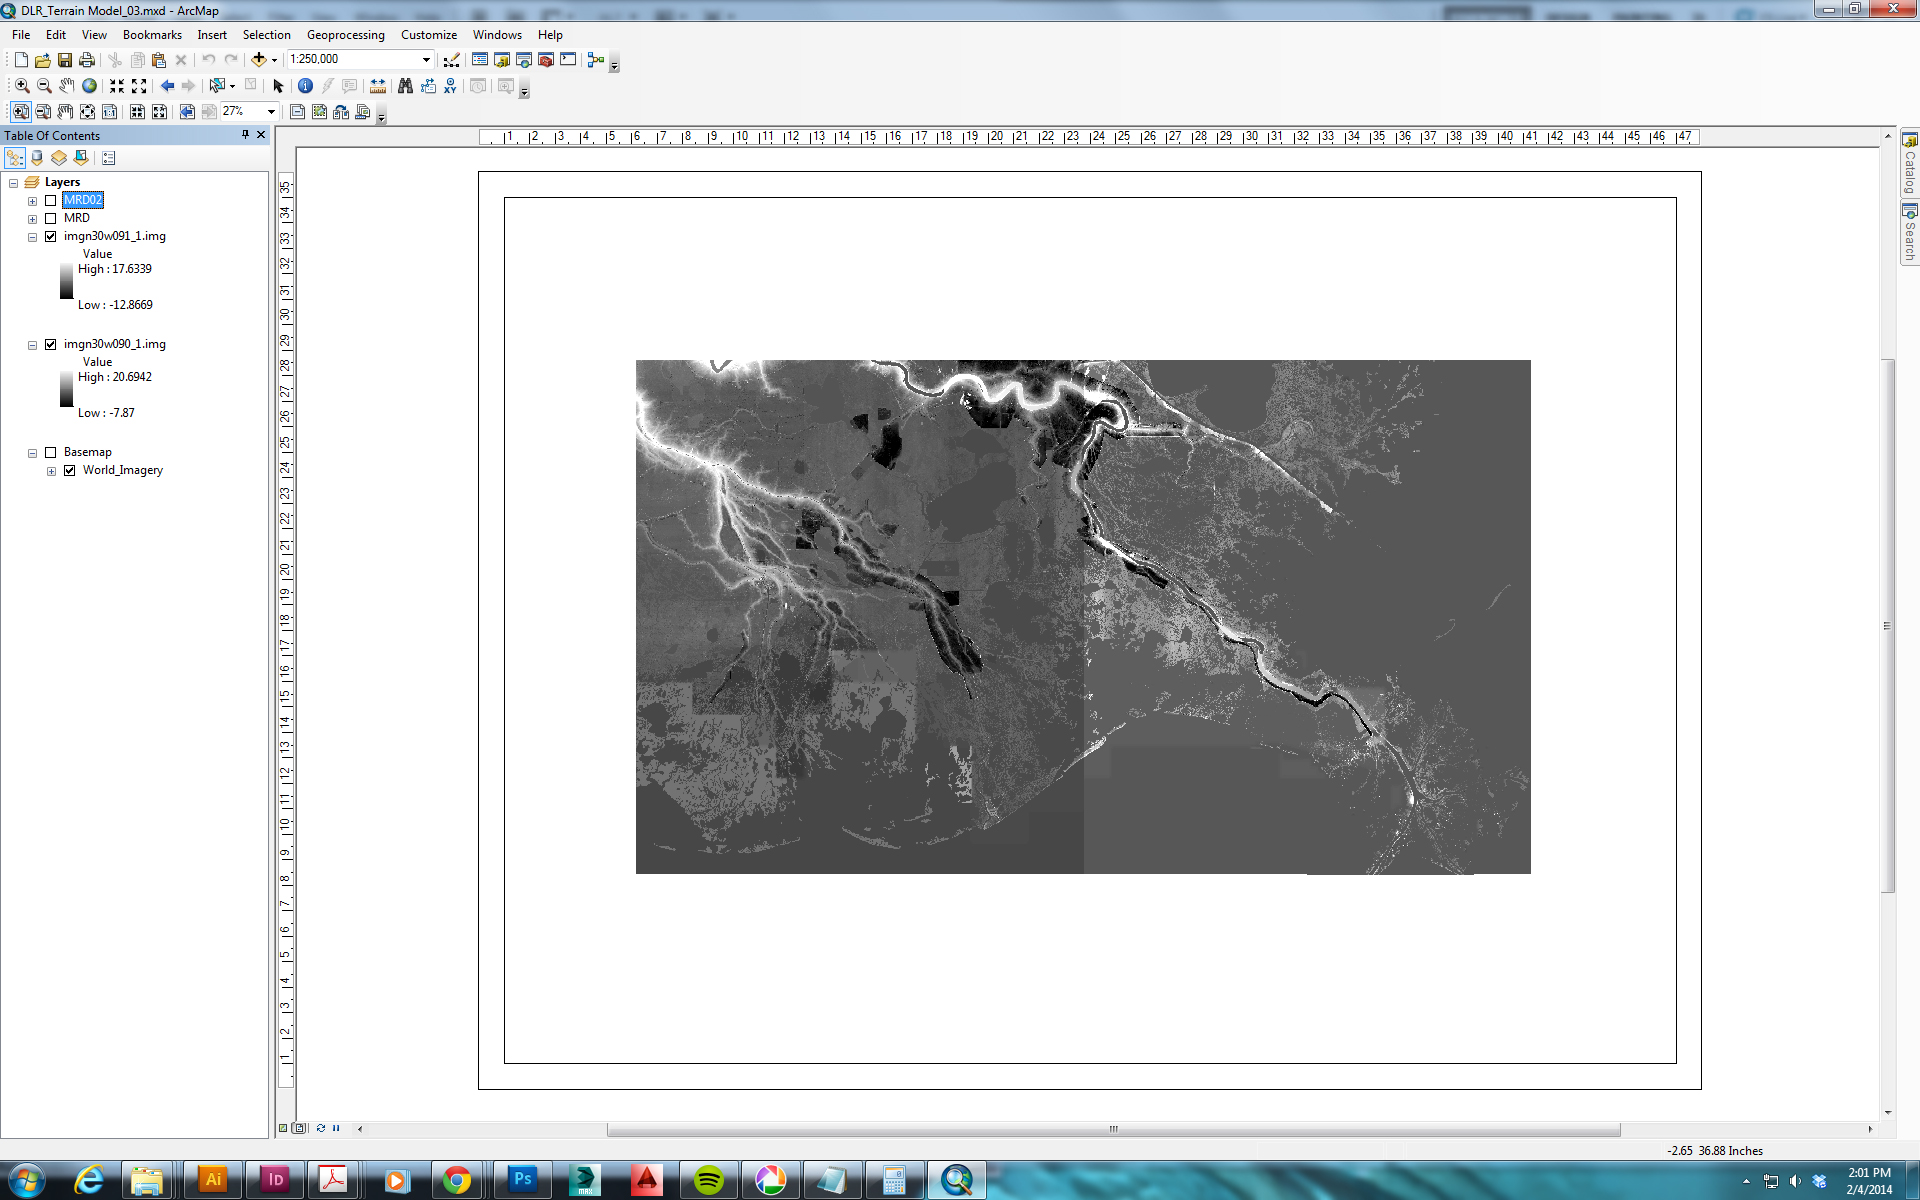
Students will place a series of cameras in 3ds Max, render scenes from each camera as rasters, and compose a storyboard using those rendered scenes in Illustrator or InDesign.

Deliverables
1 Storyboard: a single board composed of a set of perspective images, arranged to convey a narrative reading. This storyboard should:

+ have between 8 and 16 frames, clearly labeled so that the viewer can understand the intended sequence of viewing
+ have a narrative logic that focuses on some relevant aspect of the study landscape, such as the experience of exploring the study landscape on foot, the movement of a material like water or sediment through the study landscape, the tectonic logic of components of the restoration project, or the operational logic of components of the restoration project.
+ include an axonometric key diagram that shows the spatial path of the perspective sequence
+ include labels, technical annotations, construction lines, and illustrative notes as appropriate to clarify the intent of the storyboard

The storyboard may make use of the device of explosion (as employed in the axonometric) if this is helpful for conveying the intended narrative reading.

You may also consider making use of stop-motion animation in constructing the storyboard, which can be facilitated through the judicious use of layers and cloning in 3ds Max.

Sources
Throughout every assignment for this course, you are expected to demonstrate good sourcing practices, for all visual, written, and intermediate products. This means both tracking your sources as you research and properly sourcing on all presented products. Sources should be clearly attributed directly on drawings.

Schedule
06 Receive Assignment 03

07 Rough draft of Assignment 03 due

08 Though class will not meet, you should be close to done with Assignment 03.

09 Critique

Read More

Here is a PDF with good instructions on procedures for saving a Rhino model as a .DWG and importing it into 3ds Max.

Read More

LAR 5304G Digital Landscape Representation I: Drawing, Cartography, and Notation
Assignment 02: Section-Elevation

Description
Construct a section-elevation through an engineered object, delineating its tectonics and surrounding landscape conditions, such as geology, hydrology, soils, vegetation, and other constructed landscape objects. Students will continue to explore AutoCAD, Illustrator, and Photoshop, focusing on lineweights, collage techniques, and scale.

Workflow
Students will construct a basic section-elevation over site plans in AutoCAD, import this section to Illustrator to refine lineweights, add texture and collage elements in Photoshop, and produce a final document in Illustrator, including both technical and illustrative labels.

Deliverables
1 Section-Elevation: a section-elevation cut through the engineered object proposed by the restoration project you have been studying. This section-elevation should:

+ make clear how the object is constructed
+ represent the material properties of the object (for instance: the use of concrete, steel, and wood in building the object) using texture and collage techniques
+ show the landscape context of the object, such as hydrology, geology, soils, vegetation, and significant adjacent landscape objects (such as a levee or road that the engineered object crosses)
+ use human figures and collaged landscape elements (such as vegetation) to aid the viewer in understanding scale
+ have both technical annotations (spot elevations, dimensions) and illustrative annotations
+ include a title, key plan, and scale

Sources
Throughout every assignment for this course, you are expected to demonstrate good sourcing practices, for all visual, written, and intermediate products. This means both tracking your sources as you research and properly sourcing on all presented products. Sources should be clearly attributed directly on drawings.

Schedule
05         Th         2.13      Detail Plan
Receive: Assignment 02: Section-Elevation.

06         Th         2.20      Section-Elevation

08         Th         3.20      CRITIQUE
                                    Covering Assignments 01, 02, and 03.

Read More

LAR 5304G Digital Landscape Representation II: Static, Dynamic
Assignment 02: Axonometric

Description
In this assignment, you will produce a large-scale axonometric representation of your study landscape by constructing a terrain model, place one or more constructed landscape objects into that terrain model, adding materials to both terrain model and landscape objects, and, finally, exploding and annotating the axonometric as appropriate in order to explain tectonic, scalar, and functional relationships within the study landscape.

Methodology
An axonometric drawing utilizes a form of parallel projection which is not orthogonal to the object(s) of the drawing, so that all three dimensional planes (x, y, and z) are visible in the drawing. Unlike a perspective projection, the scale of each dimensional planes is preserved throughout the drawing, though the scales of the three dimensional planes are not necessarily identical.

Workflow
> Download Digital Elevation Model(s) from online data sources
> Produce cropped and aligned .TIF files from both the DEM and aerial imagery using ArcGIS
> Use the “displace” modifier in 3ds Max to transform a simple plane into a terrain model
> Map aerial imagery onto the terrain model in 3ds Max
> Model one or more constructed landscape objects in Rhino 5
> Import the object(s) into 3ds Max and place them appropriately within the terrain model
> Map materials onto both the terrain model and constructed objects in 3ds Max
> Set up basic cameras and lighting in 3ds Max
> Render an axonometric from 3ds Max
> Annotate and adjust renderings as appropriate using Photoshop and Illustrator

Deliverables
1 Axonometric: a PDF file outputted from Photoshop or Illustrator at the conclusion of the workflow. The axonometric should answer the following questions:

> What is the topography of the study territory? (Answer by showing topography through the terrain model.)
> What constructed landscape object(s) have been proposed in CWPPRA restoration project plans for this territory?
> Where will those objects fit within the study territory? (Consider using “exploding” techniques to clarify this.)
> How will those objects function, particularly in relationship to important material flows (similar to Assignment 01)?

Sources
Throughout every assignment for this course, you are expected to demonstrate good sourcing practices, for all visual, written, and intermediate products. This means both tracking your sources as you research and properly sourcing on all presented products. Sources should be clearly attributed directly on drawings.

Schedule
03 Th 2.06 Terrain Model

04 Th 2.13 Objects

05 Th 2.20 Cameras & Lighting
Receive Assignment 03: Storyboard (Assignments 02 & 03 will be executed in partial parallel)

06 Th 2.27 Materials & Surfaces

07 Th 3.06 Work Session

XX Th 3.13 Spring Break

08 Th 3.20 CRITIQUE
Covering Assignments 01, 02, and 03.

Read More

1. Download Digital Elevation Model(s) from online data sources

2. Produce cropped and aligned .TIF files from both the DEM and aerial imagery using ArcGIS

A. Create a new ArcGIS map.

B. Place your DEM(s) in the map. If necessary, merge DEMs.

C. Zoom ArcGIS to the approximate boundaries of the area you want to model.

D. Set an appropriate and ‘clean’ scale (for instance: 1:20,000) for your output from ArcGIS. Remember that default scale in ArcGIS is meters:meters. (This is fine.)

E. Use File > Export Map to save a .TIF file, at scale and cropped to the region you are interested in modeling. Under “Options” > “General”, set resolution reasonably high (i.e. 150-300 dpi) and check “Clip Output to Graphics Extent”. Under “Options” > “Format”, set Color Mode to “8-bit Grayscale” and Compression to “None”.

F. Add “Basemap” > “World Imagery” (or another aerial image layer) to the ArcGIS file, and repeat step E, ensuring that the bounds and scale of the export remain identical.

3. Following the instructions in Tutorial 18.4 “Creating a Terrain using DEM Data and the Displace Modifier” in Cantrell and Yates, transform a simple plane into a terrain model and map aerial imagery onto the terrain model in 3ds Max

+ In step 5, note that you will sometimes want to scale down the plane (and thus your terrain model) relative to real dimensions of the area you are working with, particularly when you are working with very large regions. For instance, if the region you are modeling is 100,000 m x 100,000 m, you might create a plane that is at 1:10 relative to the region (10,000 m x 10,000 m). This can help avoid creating models that are too large for the computer to handle at reasonable speeds.

+ In step 10, note that the strength value should represent the total distance between minimum and maximum elevations, not “the height of the highest point in your terrain”. This will account for models that do not start at elevation 0.

+ After step 10, you may find that your terrain model is extremely bumpy or jagged. You can fix this by gradually increasing the “Blur” value on the Displace Modifier. (Generally, a value between 2 and 4 should be sufficient to smooth the model. Lower values are desirable as they will reduce distortion in the resultant terrain model.)

+ For steps 11-14, you may need to refer to Tutorial 15.1 “Creating a Standard Material in 3ds Max” in Cantrell and Yates.

Read More

When working with raster elevation data downloaded from the USGS, National Map, or similar sources, you will often find that your working area crosses the borders of two or more digital elevation map tiles.

merging_001

This can be problematic because the two map tiles are likely to have different value ranges, making it necessary to merge the tiles before exporting a portion of them as a TIF for creating a surface in 3ds Max. This is a step-by-step guide to merging raster elevation data in ArcGIS.

1. Create a Mosaic Dataset
Follow the instructions in this Esri tutorial under the section headings “create a file geodatabase”, “set the default geodatabase”, and “create a new mosaic dataset”. Call the geodatabase and mosaic dataset whatever you like.

During “create a new mosaic dataset”, you may want to check the pixel type properties on the source rasters (you can see this by right-clicking the raster in the catalog and looking at its properties) and set the pixel type to match on the new mosaic dataset (expand the “pixel properties” dropdown before clicking “OK” to close the Create Mosaic Dataset tool dialog box).

2. Add Rasters to the Mosaic Dataset
Follow the instructions in that same tutorial under the heading “add rasters to the mosaic dataset”. (You will use the .img or .tif raster data files you are looking to merge.) During step 3, I have found it works better to select “Dataset” instead of “Workspace”.

3. Calculate Statistics and Build Pyramids on the Raster Mosaic
You may find that the combined Raster Mosaic does not display the appropriate scale range, causing it to appear gray and blank.

merging_002

You can fix this by right-clicking the Raster Mosaic in the catalog and choosing “Build Pyramids and Statistics”.

merging_003

See here for additional discussion of this issue.

Read More